
Did you know that using a paint sprayer can cut down the time and effort required for large-scale tasks by up to 50%?
We know how important a perfect finish is for your projects. Whether you’re updating a room or your whole home, picking the right tool is key.
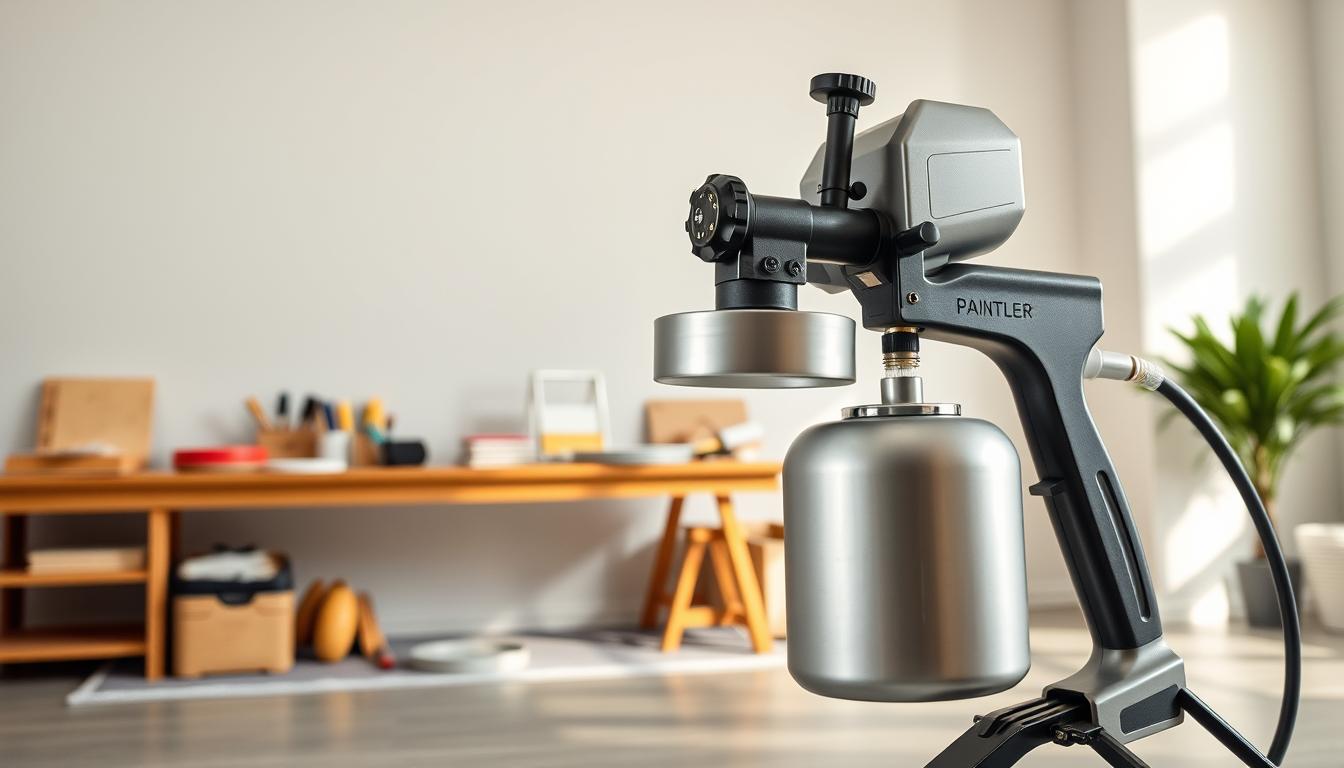
Finding the best home interior paint sprayer can seem tough, but we’re here to help. We aim to guide you to the perfect paint sprayer for your needs.
Key Takeaways
- Using a paint sprayer can significantly reduce project time.
- The right sprayer ensures a flawless finish.
- Different projects require different types of sprayers.
- Consider the size of your project when choosing a sprayer.
- Look for sprayers with adjustable settings for versatility.
Understanding the Benefits of Using a Paint Sprayer
Looking to get professional-grade results in your home painting? Knowing the perks of a paint sprayer is key. We dive into how this interior painting tool can change your painting game.
Paint sprayers beat traditional painting methods in many ways. One big plus is how fast they work. A professional paint spray gun can cover big areas quickly, making it a must-have for large projects.
Faster Coverage and Efficiency
A paint sprayer sprays paint into a fine mist. This mist spreads evenly over surfaces. It makes painting faster and cuts down on the work needed.
Reduced Manual Labor
Paint sprayers cut down on the physical work needed for painting big areas. This is great for people who find manual labor hard, like using brushes or rollers for a long time.
Consistent Finish and Quality
A paint sprayer gives a consistent finish by painting evenly. This is hard to do with old methods. It leads to a top-notch finish that looks like it was done by pros.
By knowing these benefits, we see how paint sprayers can make our home painting better. They make projects more efficient and give us pro-grade results.
Types of Paint Sprayers Available
There are many types of paint sprayers, each for different painting needs and surfaces. Knowing the differences is key to getting a professional look.
Airless Paint Sprayers
Airless paint sprayers are great for thick paints. They pump paint through a hose and out a spray tip. This creates a smooth finish without compressed air.
Key benefits of airless paint sprayers include:
- Fast coverage for large areas
- Ability to handle thick, viscous paints
- Less overspray compared to traditional sprayers
HVLP (High Volume Low Pressure) Sprayers
HVLP sprayers use a lot of paint at low pressure. This means less overspray and better control. They’re perfect for detailed work and small projects.
HVLP sprayers are great for:
- Cabinets and furniture
- Trim work and molding
- Projects needing a fine finish
Compressed Air Paint Sprayers
Compressed air paint sprayers, or conventional sprayers, use air to atomize paint. They’re versatile and work well for many projects, from furniture to cars.
Advantages of compressed air sprayers include:
- Versatility for different paint types
- Adjustable pressure for various applications
- Suitable for both small and large projects
When picking a paint sprayer, think about your project’s needs. Consider the surface, paint type, and finish you want. The right sprayer will help you get professional results for your home projects.
Key Features to Look for in a Paint Sprayer
Choosing the right paint sprayer is key for a great DIY painting job. The right electric spray painter can really change your project’s look.
Adjustable Pressure Settings
Adjustable pressure settings are a must-have. They let you adjust the sprayer for different paints and surfaces. For example, low pressure is good for delicate areas, while high pressure works better for thick paints or big areas.
Spray Pattern Options
Having various spray patterns is also important. You might need horizontal, vertical, or circular patterns for different jobs. This flexibility helps you get a smooth finish on all surfaces.
Easy Cleanup and Maintenance
Easy cleaning and maintenance are key. Look for sprayers with parts that are simple to take apart and clean. Also, choose ones that don’t clog easily. This saves time and makes your sprayer last longer.
Portability and Weight
Consider the sprayer’s portability and weight, too. If you’ll be using it a lot or on big projects, a lighter, ergonomic model is better. It helps prevent fatigue and makes moving the sprayer easier.
| Feature | Importance | Benefit |
|---|---|---|
| Adjustable Pressure Settings | High | Customizable output for different paints and surfaces |
| Spray Pattern Options | High | Flexibility for various projects and surfaces |
| Easy Cleanup and Maintenance | Medium | Saves time and extends the sprayer’s lifespan |
| Portability and Weight | Medium | Reduces fatigue and enhances maneuverability |
Top Home Interior Paint Sprayers Reviewed
For homeowners looking for a top-notch finish, knowing the best home interior paint sprayers is key. We’ve looked at several top models to guide you in choosing the right one.
Graco Magnum X5
The Graco Magnum X5 is a versatile indoor paint sprayer that performs well on many projects. It has a strong motor and adjustable pressure, perfect for both small and big jobs.
- Adjustable pressure for different paint types
- Easy cleanup system
- Durable construction for long-term use
Wagner Flexio890
The Wagner Flexio890 is a strong contender for the best home paint sprayer. It has a unique Flexio technology for easy switching between spraying and rolling, making it very versatile.
- Flexio technology for multiple application methods
- Easy to use and maneuver
- Quick cleanup
HomeRight Finish Max
The HomeRight Finish Max is known for its ease of use and quality finish. It’s a great pick for reliable indoor paint sprayer needs at home.
- Easy to assemble and use
- Consistent spray pattern
- Affordable pricing
Fuji Spray Q4
The Fuji Spray Q4 is famous for its quality finish and ease of use. It’s ideal for those wanting a professional-grade best home paint sprayer.
- High-quality finish
- Adjustable pressure control
- Durable construction
For more details on the best paint sprayer options, check out our detailed guide.
| Model | Adjustable Pressure | Ease of Cleanup | Price Range |
|---|---|---|---|
| Graco Magnum X5 | Yes | Easy | $200-$300 |
| Wagner Flexio890 | Yes | Easy | $150-$250 |
| HomeRight Finish Max | No | Moderate | $100-$200 |
| Fuji Spray Q4 | Yes | Easy | $250-$350 |
By comparing these top models, you can find the best indoor paint sprayer that meets your needs and budget. Whether you’re a DIY fan or a pro, the right sprayer can greatly improve your project’s outcome.
How to Choose the Right Paint Sprayer for Your Project
Choosing the right paint sprayer depends on your project’s size, your skill level, and the cost. With many options, picking the best one can be tough. But, by looking at a few key points, you can find the perfect sprayer for your home painting.
Assessing Your Project Size
The size of your project is key in picking a paint sprayer. For small jobs, like painting a room or furniture, a small, portable sprayer works well. But, for big projects, like painting a whole house, you need a heavy-duty sprayer that can handle more paint.
- Small Projects: Choose sprayers with small tanks and low pressure to avoid waste.
- Large Projects: Go for sprayers with big tanks and adjustable pressure for better coverage.
Considering Your Skill Level
Your painting experience matters too. Beginners might like sprayers that are easy to use and forgiving. More skilled users might want sprayers that offer more control over the spray.
- Beginners: HVLP sprayers are good for beginners because they’re easy to control and have less overspray.
- Experienced Users: Airless sprayers are versatile and great for both small details and big projects.
Comparing Cost and Value
Paint sprayer prices vary a lot, from under $50 to hundreds of dollars. When comparing prices, think about the cost of the sprayer and any extra materials you might need, like tips and filters.
To get the best deal, look for a sprayer that’s affordable but still performs well. A high-quality sprayer might cost more at first but can save you money by reducing waste and the need for extra coats.
Preparing Your Home for Painting
To get the most out of your interior painting tool, proper preparation is key. A well-prepared workspace ensures a smooth painting process. It also helps in achieving a professional-looking finish.
Protecting Furniture and Floors
Before you begin painting, protect your furniture and floors from paint splatters and spills. Move furniture away from walls or cover it with drop cloths. For floors, use a combination of drop cloths and plastic sheets to create a protective barrier. This step is crucial for DIY home painting projects where precision is key.

Taping Off Edges and Trim
To achieve clean, sharp edges, use painter’s tape to mask off trim, baseboards, and any areas you don’t want to paint. Apply the tape carefully to ensure it is straight and pressed firmly onto the surface. This prevents paint from seeping underneath. This technique is vital for a flawless finish, even when using an HVLP sprayer or other paint sprayer types.
Choosing the Right Paint Type
Selecting the right paint type is critical for the success of your painting project. Consider factors such as the surface you’re painting (latex, wood, metal), the desired finish (matte, satin, gloss), and the paint’s durability. For most DIY home painting projects, latex-based paints are a popular choice. They are easy to use and dry quickly. When using an interior painting tool, ensure the paint is compatible with the sprayer’s specifications.
By following these steps, you’ll be well-prepared to tackle your painting project with confidence. You’ll achieve a beautiful and professional-looking result.
Step-by-Step Guide to Using a Paint Sprayer
To get the most out of your paint sprayer, it’s essential to understand how to use it correctly. Using a professional paint spray gun or an electric spray painter can make a significant difference in the quality of your painting project.
Setting Up Your Paint Sprayer
Before you start painting, you need to set up your paint sprayer correctly. Start by reading the manufacturer’s instructions. This will tell you how to assemble the sprayer, fill the paint container, and adjust the pressure settings. Make sure you have the right nozzle or tip for your paint.
It’s also crucial to thin your paint to the correct consistency, as specified by the manufacturer. Some paints may need more thinning, which is important for a professional paint spray gun that operates at high pressure.
Techniques for Even Coverage
Achieving even coverage is key to a successful painting project. Hold the sprayer at a consistent distance from the surface, usually about 8-12 inches away. Move the sprayer in a steady, back-and-forth motion, ensuring that you maintain a consistent speed. Overlapping your passes slightly can help achieve a uniform coat.
It’s also important to keep the sprayer perpendicular to the surface to avoid uneven coverage. Practice your technique on a small, inconspicuous area before tackling the main project.
Cleaning Your Sprayer After Use
Cleaning your paint sprayer after use is crucial for maintaining its performance and longevity. Start by emptying any remaining paint from the container and flushing the system with the appropriate solvent. For water-based paints, use water; for oil-based paints, use mineral spirits or another recommended solvent.
Disassemble the sprayer according to the manufacturer’s instructions and clean each part thoroughly. Use a soft brush to remove any dried paint from the nozzle or other small parts. Regular cleaning will help prevent clogs and ensure that your electric spray painter remains in good working condition.
Troubleshooting Common Paint Sprayer Problems
Troubleshooting is key to a flawless finish with your paint sprayer. Home improvement tools like indoor paint sprayers can face several issues. These problems can affect the quality of your work.
Clogging and Poor Spray Patterns
Clogging often leads to poor spray patterns. Make sure to thin your paint as the manufacturer suggests. Clean the sprayer’s nozzle and filter regularly to prevent clogs.
If you see a bad spray pattern, stop and check for blockages. A paint sprayer with adjustable pressure can help avoid clogs. This lets you adjust the pressure for different paints.
Uneven Paint Application
Uneven paint can come from bad technique or equipment problems. For an even coat, keep the sprayer 8-12 inches from the surface. Move it in a steady, back-and-forth motion, overlapping each pass by 50%.
If it’s still uneven, check the sprayer’s pressure and nozzle. Make sure the nozzle is clean and not damaged.
Maintaining Consistent Pressure
Consistent pressure is vital for a uniform finish. Pressure changes can cause uneven coverage or texture. Prime the sprayer before starting to keep pressure steady.
Watch the pressure gauge if your sprayer has one. Adjust as needed. Regular maintenance, like cleaning the pump and checking for leaks, helps keep pressure consistent.
By tackling these common problems, you can greatly improve your indoor paint sprayer’s performance. This will help you get professional-looking results.
Safety Tips for Using Paint Sprayers
To avoid risks with paint sprayers, it’s key to follow safety rules. When doing DIY home painting, safety comes first. This ensures a good and safe painting job.
Wearing Protective Gear
Protective gear is a must to avoid paint overspray and fumes. We need gloves, goggles, and a mask or respirator. Wearing long sleeves and pants also helps keep paint off our skin.

Ensuring Adequate Ventilation
Good air flow is vital when using paint sprayers. We should paint in a well-ventilated area. Open windows and use fans to move the air. This cuts down on harmful fume intake.
Handling Paint and Solvents Safely
Paint and solvents need careful handling. Always read the labels and follow the use and disposal rules. Store these items in a cool, dry spot. Keep them away from heat and out of kids’ and pets’ reach.
By sticking to these safety tips, we can lower paint sprayer risks. This makes our DIY home painting safe and successful.
Cost Considerations for Buying a Paint Sprayer
When buying a paint sprayer, it’s key to think about the cost. Prices vary a lot. This depends on the type, features, and brand.
Don’t just look at the price tag. Think about the sprayer’s long-term value. A pricier sprayer might last longer and work better. This could save you money and hassle in the future.
Budget-Friendly Options
If you’re on a tight budget, there are affordable paint sprayers. They might not have all the fancy features. But they can still do a good job for small projects.
- Basic Models: Great for occasional use and small jobs. They’re cheaper but might not have as many features.
- Compact Designs: Some cheap sprayers are small and light. This makes them easy to use and store.
Mid-Range Choices
Mid-range sprayers are a good middle ground. They’re good for more frequent use and bigger projects. They offer better coverage and consistent results.
- Adjustable Pressure: Many mid-range sprayers let you adjust the pressure. This gives you more control over the spray.
- Versatility: These sprayers can handle different paints and coatings. They’re versatile for various projects.
Investing in Professional Models
For pros or serious DIY fans, a top-notch paint sprayer is worth it. These sprayers perform better, last longer, and have cool features. They can really improve your work quality.
- Advanced Features: High-end sprayers have cool features like special spray patterns and high pressure. They also have bigger tanks.
- Durability: These sprayers are built for heavy use. They last longer, making them a smart investment.
Think about what you need and your budget. This way, you can find the best paint sprayer for you. It should match your needs and budget well.
Maintenance Tips for Longevity of Your Paint Sprayer
To keep your paint sprayer in top shape, regular care is key. A well-kept sprayer gives you a perfect finish and lasts longer.
Regular Cleaning Practices
Cleaning your paint sprayer after each use is crucial. It stops paint from drying inside. Use a solvent the maker suggests to clean it out. A mix of water and cleaning solution works for most sprayers.
Key cleaning steps include:
- Flushing the sprayer with a cleaning solution
- Soaking removable parts in a solvent
- Wiping down the exterior with a damp cloth
Storing Your Sprayer Properly
Storing your sprayer right is key to keeping it in good shape. Store it in a dry, cool spot, out of sunlight. Make sure it’s clean and dry before you put it away to avoid damage.
Storage tips:
- Keep the sprayer in its original case if possible
- Avoid storing the sprayer in areas with high humidity
- Protect the sprayer from extreme temperatures
Inspecting and Replacing Parts
Regularly check your paint sprayer’s parts for wear. Look for damaged or worn-out parts like nozzles, filters, and hoses. Replace them when you find them.
| Part | Inspection Criteria | Replacement Frequency |
|---|---|---|
| Nozzles | Check for clogs and wear | Every 6 months |
| Filters | Inspect for blockages | Every 3 months |
| Hoses | Look for cracks and damage | Every 12 months |
Conclusion: Achieving a Professional Finish with a Paint Sprayer
Using a home interior paint sprayer can make your DIY painting projects better. It gives you a smooth finish and saves time. The right sprayer can really change how your home looks.
Key Takeaways
We talked about how paint sprayers are great. They cover areas fast, need less manual work, and give a uniform look. When picking a sprayer, look at adjustable pressure, spray patterns, and how easy it is to clean.
DIY Enthusiasm
Now that you know more, start your DIY painting projects with confidence. Paint sprayers can help you get a pro finish, no matter if you’re new or experienced. You’ll feel proud of your work.